


Today I’m going to show you a few of the simple steps I take to scan, clean up, and remove the paper backgrounds from my painted artwork using Adobe Photoshop.
Note that if you would like to dive deeper into this technique, I have a Skillshare class here showing you my exact process for making patterns out of my artwork using Photoshop. This can be applied to any medium you use, not just watercolor.
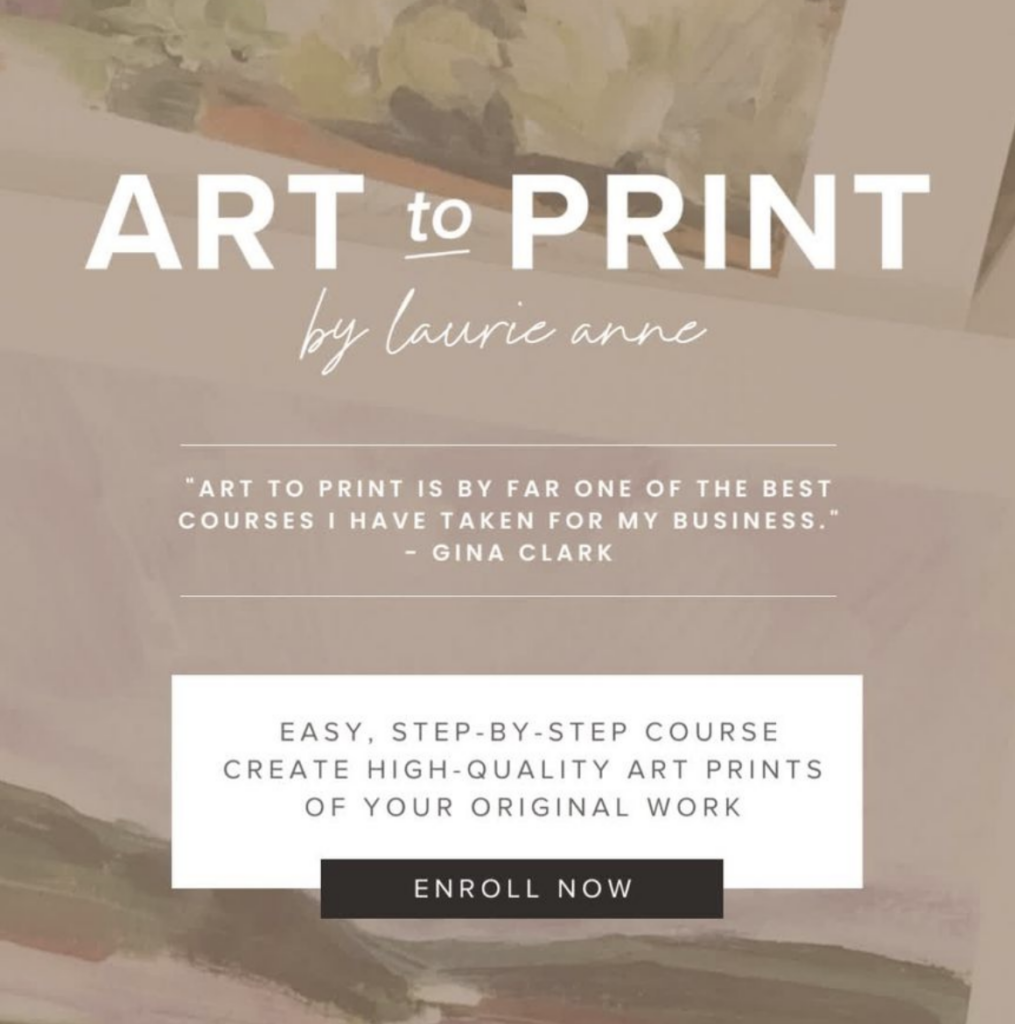
AND if you want to learn to make fine art prints with your artwork, I highly recommend my friend Laurie Anne’s Art to Print course (this is my affiliate link, which means if you enroll through me, I receive an extra bonus at no cost to you. Thank you!)
Before I show you my 3 simple steps for cleaning up and digitizing your artwork, let’s talk a little bit about what you would want to transfer your artwork to the computer…
In most cases, your artwork needs to be digitized if you plan to monetize it.
Even if you are just selling original artwork directly to customers, I highly recommend you digitize your work anyway! Here are a few reasons why:
• You may want to make prints or other products of the artwork later.
• You may license the image of the artwork later.
• It’s good practice to have an archive of your work on hand in case you ever need it.
Now, your paintings may be too large to scan in on a typical scanner bed. In that case, I recommend bringing your artwork to a photographer and having them create high quality images for you (typically costs about $50-60 USD per painting). Or, you can learn to do this yourself, which Laurie Anne also teaches inside Art to Print!
For smaller artwork, you can scan it in one piece or multiple sections, and that’s the process I’m showing you below.
Let’s get started!
Step 1: Scan in Your Artwork

First, scan in your artwork. I use an Epson Perfection V39 (this is my affiliate link).
I like to scan my artwork in at minimum 600 DPI and as a TIF file. Which DPI I choose depends on the size of the original artwork and how large I anticipate blowing it up. But in general, I find 600 DPI to work in most cases.
If your art is larger than your scanner bed (i.e. letter size or 8.5×11″), you can scan in pieces and then use Photoshop’s Photomerge Tool.
It’s under File > Automate > Photomerge (see the image below). From there, you simply select the files you would like to merge.
Note: I find it works better if you make sure that each section is already saved in the correct/same orientation.

Step 2: Remove the Paper Background
If your art doesn’t have a paper background you want to remove, you can skip this step. This depends on if your artwork covers the entire surface you are scanning, or if you have a personal preference to keep the original paper texture background.
For the purposes of art licensing, I generally recommend separating the artwork from its background so that each sits on its own layer. This allows for versatility, like being able to change the background color.
Next up, under Adjustments -> Levels use the White Point Eyedropper Tool (circled below) and select anywhere on the white paper background. If you’re using cold pressed watercolor paper (less smooth than hot press), like I am here, it may take some clicking around to get a spot that looks good for a selection.

Once you have a good spot, make your selection and then hit Delete to delete the background!
If you have lighter areas of your painting, make sure you are not deleting those sections as well. In my Skillshare class (within Lesson 5) you can watch a detailed tutorial of how I deal with this.


Once the paper is gone, I like to then add a new white fill background layer so I can see what I’m doing from here on out.
Step 3: Clean Up and Color Correct Your Artwork
Finally, we’re going to erase any imperfections leftover, like you see below, with the Eraser Tool. If the imperfections are actually on the art itself, and not the background, I use the Spot Healing Tool for a quick fix.

Finally, you may need to color correct your artwork to more closely match the original. Usually this involves upping the Saturation levels slightly, which are found under Adjustments. So that’s what I did here!

I hope this helps you get started with digitizing your art, or maybe you learned about a new little trick!
There are plenty of individual processes out there, so if you’ve found something different that works better for you and your particular art, go for it.
If you want to learn even more, check out the Art to Print online course here and see if it’s right for you.
Happy digitizing!


Thankx it was good to know about removing the background with the white point dropper in Levels – and surprised I have never come across this before! Mostly it is the magic wand that is used and am happy to I read this.
Thanks so much, your tips are invaluable! XX
Hi Juliet,
Enjoy your informative articles and also would like to make prints from my artwork but the technical side is still very new to me. I don’t quite understand why you remove the white background only to add it again. Why remove the background at all since it is part of your artwork? Thank you in advance for your explanation.
Renate
Renate,
Removing the background is somewhat of a personal choice, but in most cases when you’re making art prints, removing the original paper texture will make for a much cleaner print/image. It can look strange if paper texture is printed on top of actual paper.
With images that don’t have negative white space like in this example, removing the background texture is usually unavoidable and that’s normal and ok.
Another reason is, especially if you use the artwork in a pattern, you may want to change the background color! Having the option makes the process so much easier.
Juliet,
This is so helpful! Thank you so much! I’ve been wanting to do this! You have shown me just what I need to get started! I look forward to reading more of your emails!
Tracy
Thank you, Juliet. Do you generally prefer to use Photoshop over Illustrator?
Gayla,
Yes – I usually use Photoshop over Illustrator! But that’s because my art is all hand-painted and I don’t vectorize it. It’s really up to your personal process and preference. 🙂
Hi Juliet,
Thank you very much ! Love the emails.
Mary
Thank you for this, so helpful!